Fabric Lined Envelope
This finish will work for many small cross stitch patterns. The easiest way to create a cross stitched envelope is to find a paper envelope that is about the size of your piece’s finished size.
Unseal the paper envelope (you may need steam) and lay flat. Trace the entire paper envelope onto the back of your stitched piece, centering the stitched design on the “front” of the envelope.
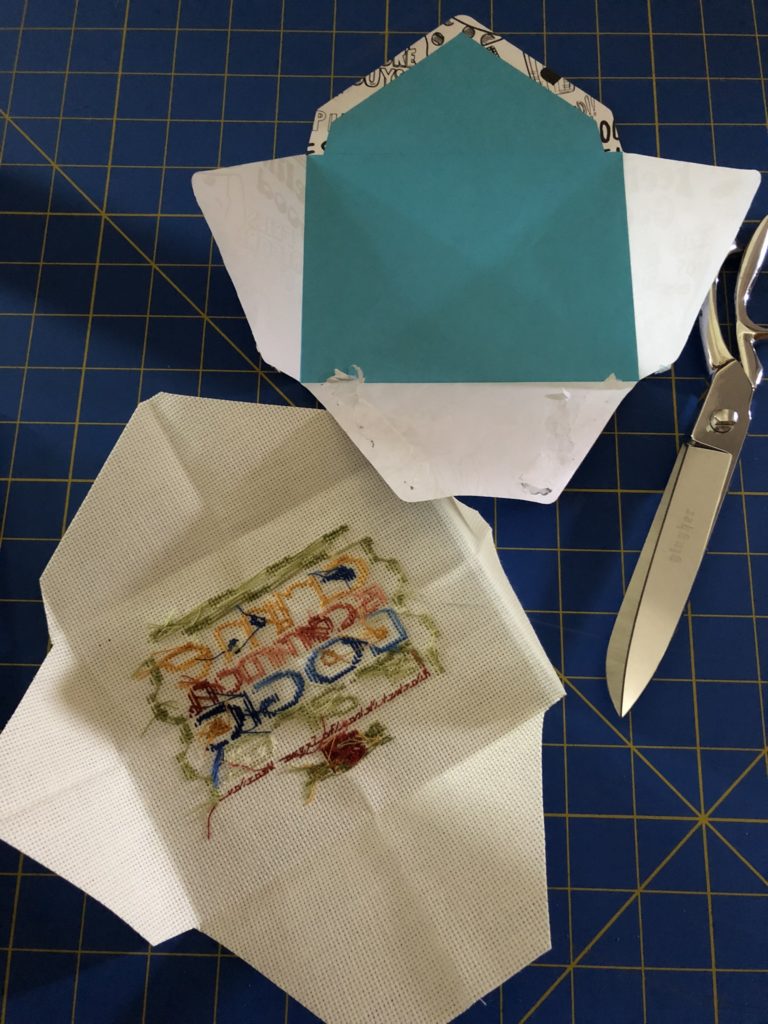
Cut the fabric to the envelope shape using fabric scissors.
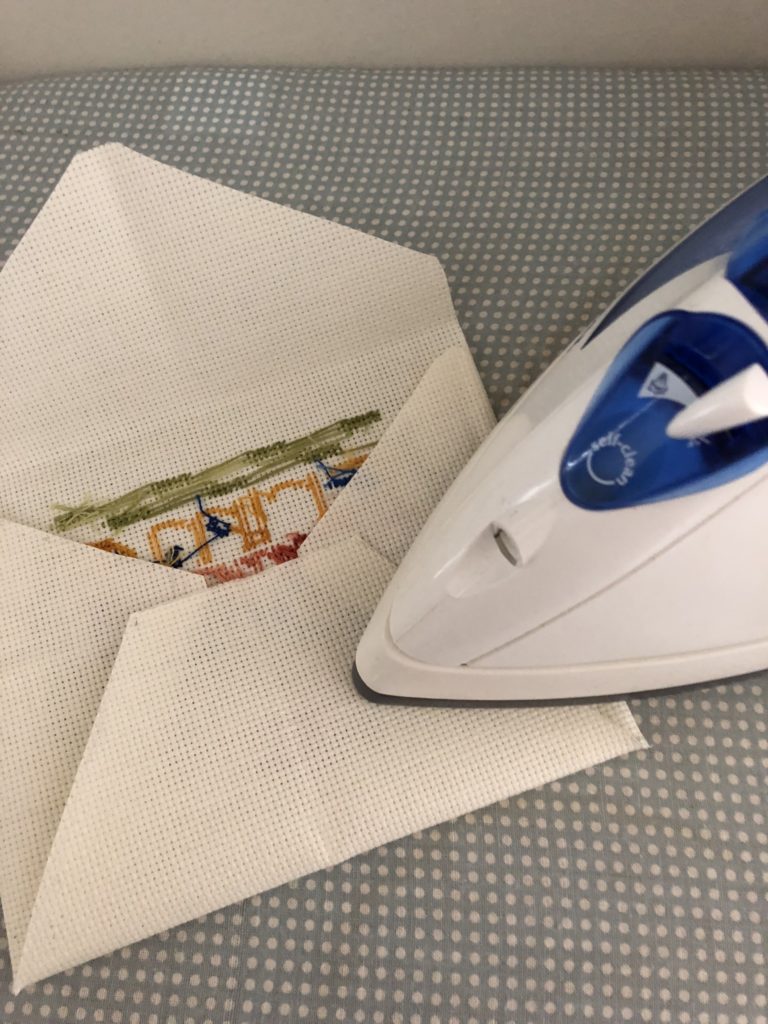
Fold the fabric into an envelope shape. Stiffer aida works well here. Press the folded envelope with an iron.
Find a coordinating fabric to use as the liner. I used Heat n Bond Ultrahold to adhere the lining fabric to the aida fabric.
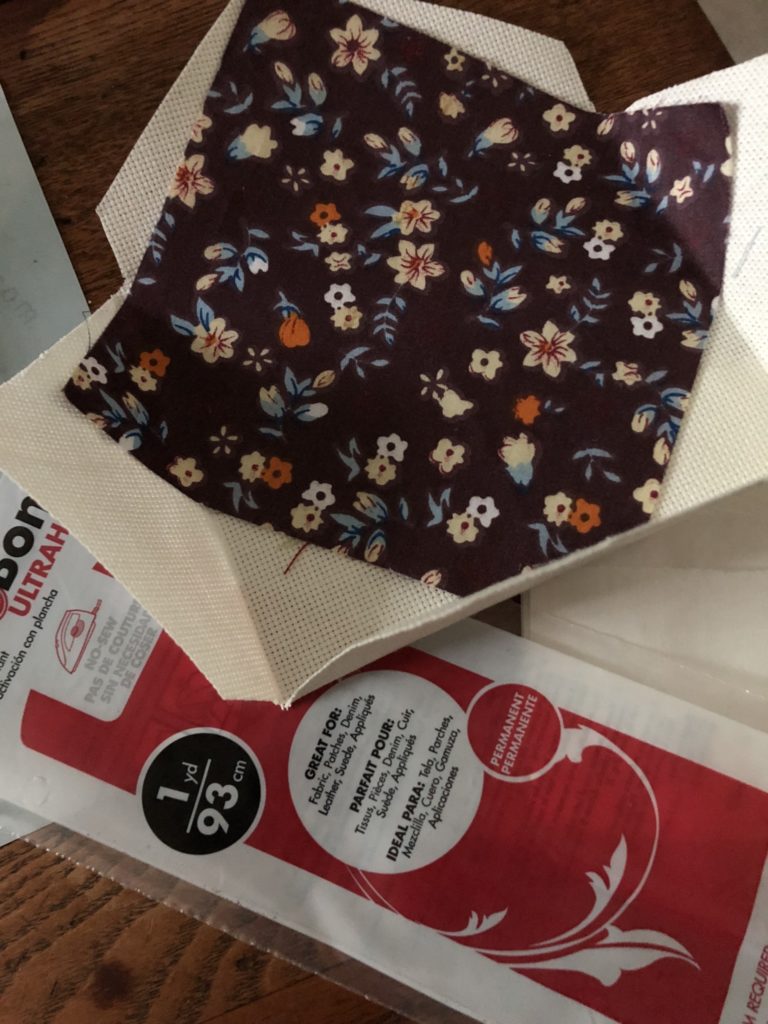
Fold and secure envelope flaps in place with Heat n Bond or crafting glue.
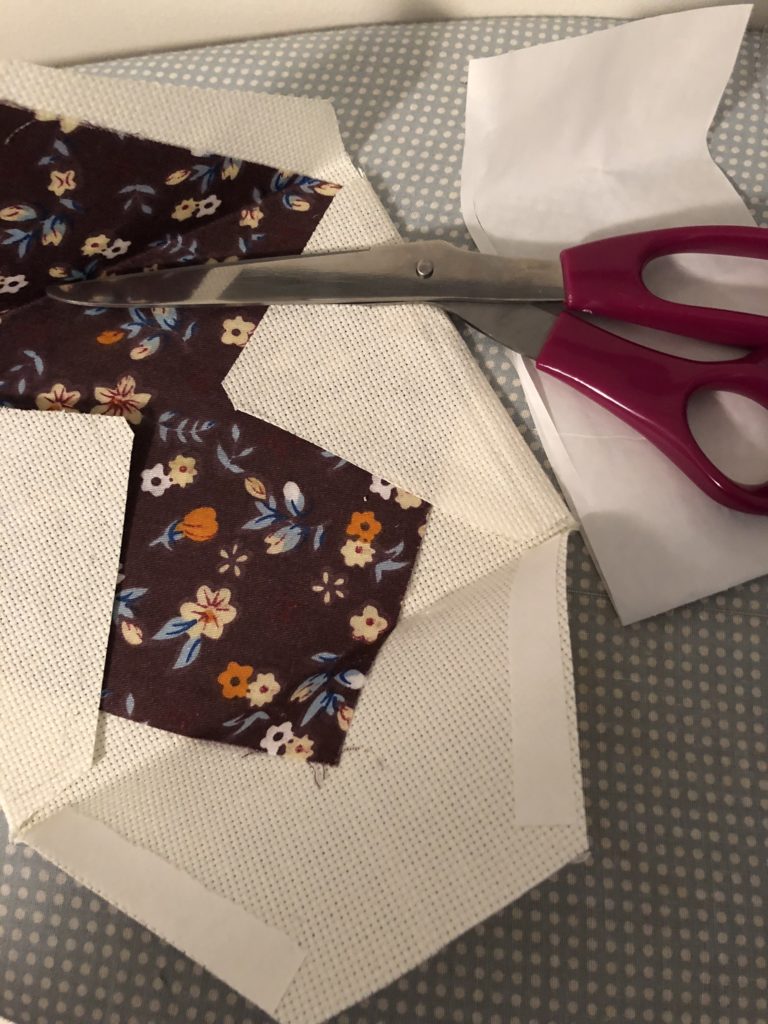
Allow entire piece to cool/dry.
Sachet, Wall hangings, and Embellished Frame
I want to try more finishing formats than simply framing piece after piece. Here are the results of some recent finishing techniques. I mostly used materials I already had in my stash.

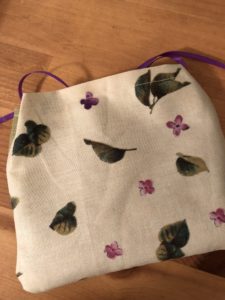
The first is a little sachet, perfect for the lavender designs by Sam Grover which came from an old issue of Quick & Easy Cross Stitch magazine. I used 28 count Country French Spring Meadow Green linen which I bought years ago from Just Stitching. I am trying to make my way through my stash of fabric and patterns!
I had not made a sachet before and I used directions from Crafts by Amanda using some patterned fabric for the back, also from my stash. The sachet is filled with dried lavender and now sits on my bookshelf, leaning against my Jane Austens. It is a good reminder that one saved pattern has moved to the “ALREADY STITCHED” file.

Here is a design called Mice, Brambles, and Berries which came from a book and I don’t remember the title. It was stitched years ago but I have only got to finishing it now! I used dark iridescent seed beads instead of French knots for the berries and I love the effect. I wanted a simple wall hanging — the design is ideal for a long finish, almost like a bell pull. The top and bottom edges were folded over and sewn in place. The sides were cut with pinking shears and stitched then “fringed” by pulling out some of the aida threads.
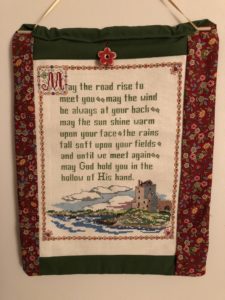
After the simple mice hanging, I wanted something more for this Irish blessing design by Needles-n-Hoops. My husband’s grandmother started the lettering and when she couldn’t finish, gave it to me. I finished it recently and decided to make it up as a banner style wall hanging. The sides are uneven but there is batting inside to give it some heft and I like the red, ceramic flower button I added.

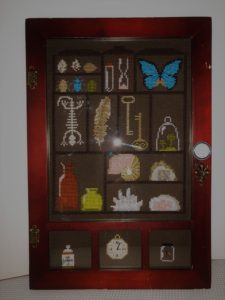
I knew this cross stitch had to be framed and I found just the frame for it at a thrift store. Turned on its side, the frame’s two inch square openings below the main 8 x 10 opening add to the piece, creating additional spaces for more curiosities. A lucky find was a package of metal jewelry (3 pcs) and large half bead ringed in metal (both on clearance at JoAnn Fabrics) to use as hinges and handle. The entire piece looks like a little antique cabinet and is my new favorite finish. Purchase the pattern and stitch your own Cabinet of Curiosities at my Etsy shop.
What is your favorite way to finish your needlework?


